


Burp Suite is a powerful tool for web application security testing, widely used by ethical hackers and penetration testers. Whether you’re learning the basics or diving deep into advanced web application testing, installing Burp Suite is the first step. This guide will walk you through the process of downloading, installing, and setting up Burp Suite on your system.
Step 1: Download Burp Suite
- Visit the Official Website
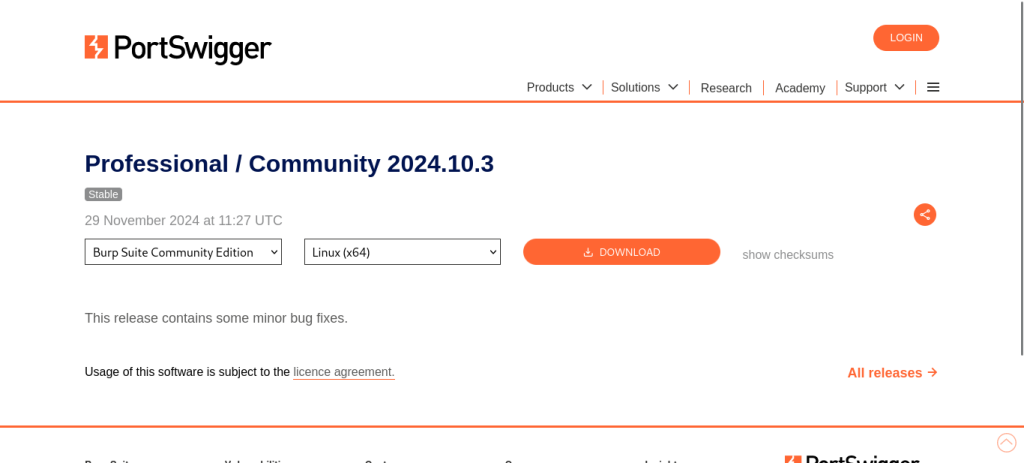
Head to the PortSwigger official website to download the Burp Suite installer.
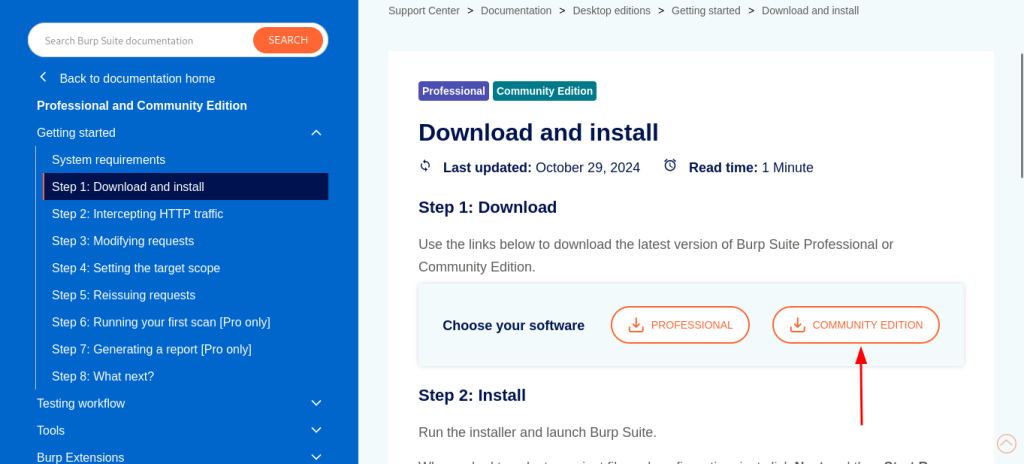
- Choose Your Version
- Burp Suite Community Edition: Free and sufficient for beginners.
- Burp Suite Professional: Paid version with advanced features for professional testers.
2. Select Your Operating System
Burp Suite supports Windows, macOS, and Linux. Choose the appropriate installer for your OS.
Step 2: Install Burp Suite
For Windows
- Run the downloaded
.exefile. - Follow the installation wizard:
- Accept the license agreement.
- Choose the installation directory.
- Click Install and wait for the process to complete.
For macOS
- Open the downloaded
.dmgfile. - Drag the Burp Suite icon to the Applications folder.
For Linux
- Download the
.shfile. - Open a terminal and navigate to the directory containing the file.
- Run the command:
   chmod +x burpsuite_community_linux.sh
./burpsuite_community_linux.sh- Follow the on-screen instructions to complete the installation.
Step 3: Launch Burp Suite
- Open Burp Suite from your Start Menu (Windows), Applications folder (macOS), or by running the following command in the terminal (Linux):
burpsuiteStep 4: Initial Setup
- Choose Your Configuration
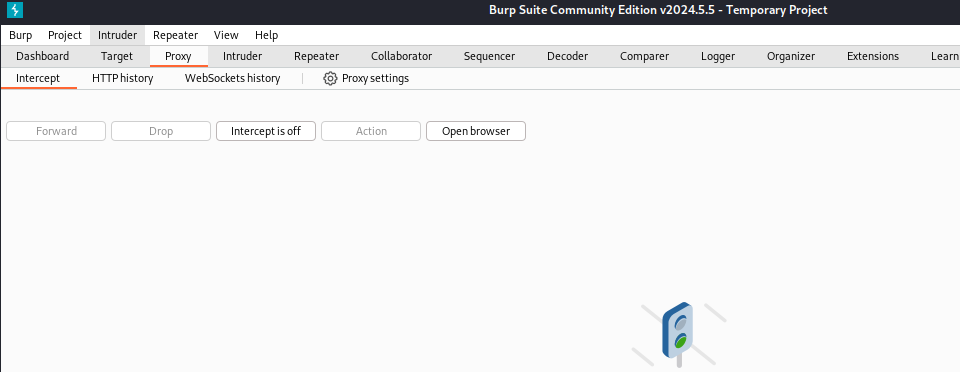
- On the first launch, you’ll see the “Startup Wizard.”
- Select Temporary Project (for practice) or Open Existing Project if you have one.
- Select Configuration
- For beginners, select Use Burp Defaults and click Next.
- Interface Overview
Familiarize yourself with the Burp Suite interface, which includes tools like:
- Proxy: For intercepting and modifying HTTP/S traffic.
- Intruder: For automating custom payloads.
- Repeater: For testing individual requests.
Step 5: Configure Your Browser
To fully utilize Burp Suite, configure your browser to route traffic through Burp’s proxy.
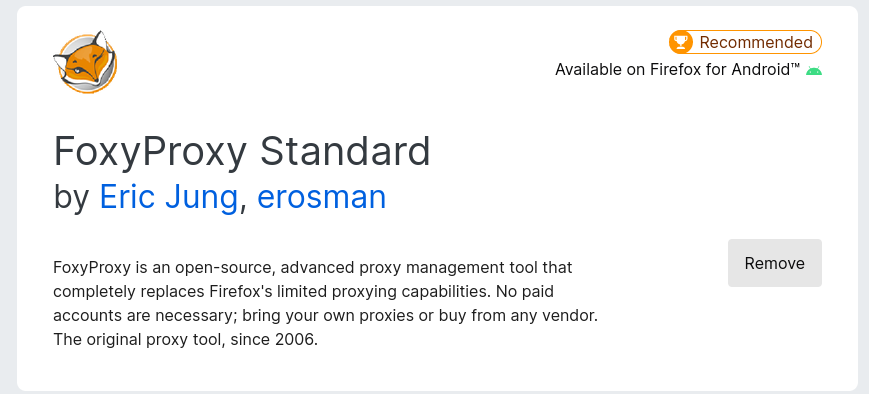
- Go to your browser’s store and search for foxy proxy . and click add
- Then Head over to foxy proxy options section then navigate to proxies > then click add > then name it > and on hostname type -> 127.0.0.1and on ports section type 8080 and save it
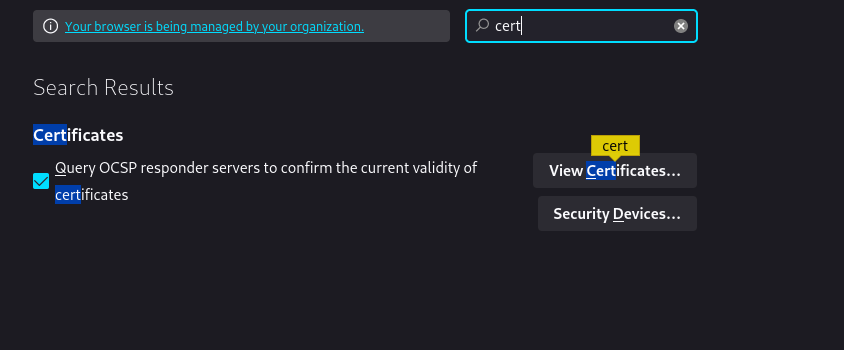
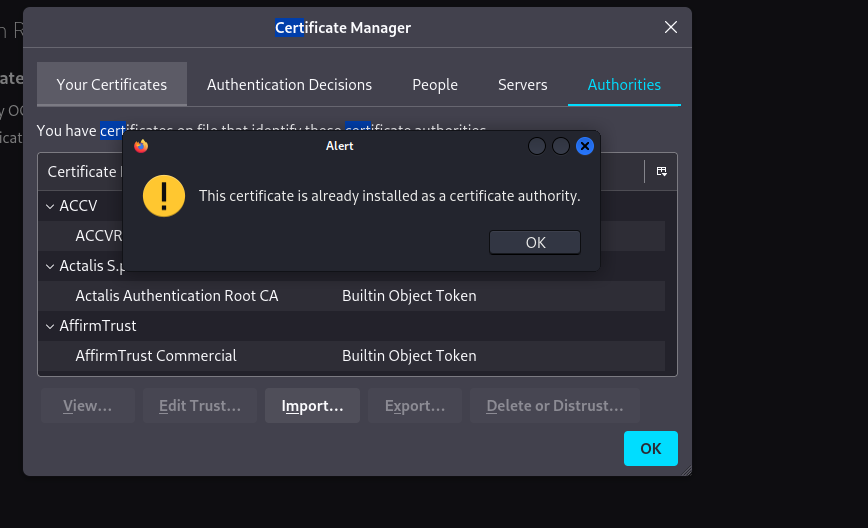
- then select click on the foxy proxy extension > click on your setted name > turn on burpsuite > head over to proxy tab then > turn on proxy > then head over to your browser > type on url field > “http://burp” > and then click on ca cert it will download a cert > and then navigate to your browser’s setting menu and search > certificate > then import a cert > click on import > it will open then select your ca cert that downloaded > then it will prompt you for to check 2 boxes so check and then click on ok > and all set .

summary
- Set Up Proxy Settings
- Default Burp Proxy:
127.0.0.1:8080. - Configure your browser (e.g., Firefox) to use this proxy.
- Install Burp Certificate
- Open your browser and navigate to
http://burp. - Download and install the CA certificate to avoid HTTPS warnings.
Step 6: Start Testing!
Now that Burp Suite is installed and configured, you’re ready to intercept, analyze, and test web traffic. Start exploring Burp Suite’s tools to identify vulnerabilities in web applications.