


Introduction
Windows Sandbox is a powerful feature available in Windows 10 and Windows 11 (Pro, Enterprise, or Education editions) that allows users to safely run applications in an isolated environment. This virtualized space is like a temporary, disposable version of Windows where any software you install or run is isolated from your main system. Once you close the sandbox, everything within it is discarded, providing an extra layer of security for testing untrusted applications or files.
Prerequisites
Before enabling Windows Sandbox, there are a few things to keep in mind:
- Edition Requirement: You must be using Windows 10 Pro, Enterprise, or Education (version 1903 or later) or Windows 11 Pro, Enterprise, or Education.
- Hardware Requirements: Ensure that your computer supports virtualization and that it is enabled in the BIOS/UEFI settings. Your system should also have a minimum of 4 GB of RAM and 2 CPU cores for optimal performance.
Steps to enable sandbox
Option 1: Using “Windows Features”
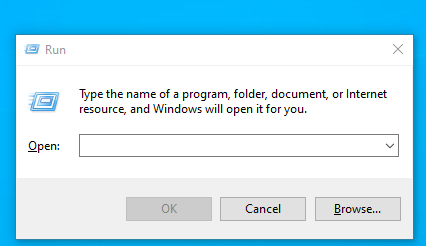
- Open the Run dialog: Press the Windows key + R to open the Run window.
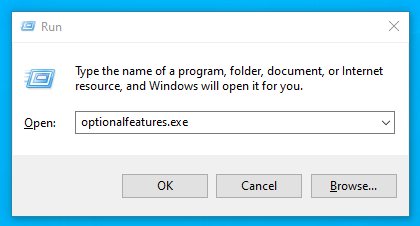
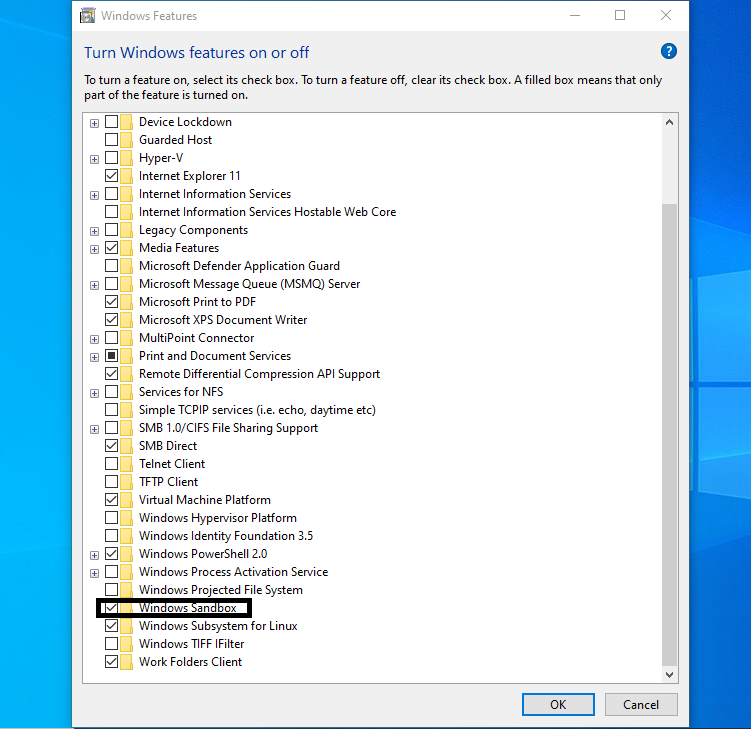
2. Access Windows Features: Type optionalfeatures.exe in the box and press Enter. This will open the Windows Features menu.
3. Enable Windows Sandbox: Scroll through the list and find Windows Sandbox. Check the box next to it and click OK.
4. Restart Your Computer: Windows will install the required components. After the installation is complete, you’ll be prompted to restart your PC. Click Restart now to finish the process.
Option 2: Using PowerShell (Command-Line Method)
- Open PowerShell as Administrator: Press Windows key + X, then select Windows Terminal (Admin) or PowerShell (Admin).

- Enable the Necessary Features: In the PowerShell window, type the following command and press Enter:
dism.exe /online /enable-feature /featurename:Containers-DisposableClientVM /all /norestart- Enable Hyper-V: To enable the necessary Hyper-V features, run the following command:
dism.exe /online /enable-feature /featurename:Microsoft-Hyper-V-All /all /norestart- Restart Your PC: Once the features are enabled, restart your system to apply the changes.
Now Launch Windows Sandbox
After your system reboots, you can start using Windows Sandbox:
- Search for Windows Sandbox: Press the Windows key and type Windows Sandbox in the search bar.
- Launch the Sandbox: Click on the Windows Sandbox app in the search results. A new window will open, presenting you with a clean, isolated desktop environment.
Using Windows Sandbox
Installing Software: You can now run untrusted applications inside the sandbox. Download or transfer files into the sandbox and test them without fear of affecting your primary system.
Closing Windows Sandbox: When you are finished, simply close the Windows Sandbox window. Everything inside the sandbox—including any installed software, files, and settings—will be discarded, and the environment will return to its original state the next time you launch it.
Troubleshooting
If you encounter any issues while enabling or using Windows Sandbox, here are a few things to check:
- Ensure Virtualization is Enabled: Windows Sandbox relies on hardware virtualization. If it is disabled in your BIOS/UEFI settings, enable it by accessing the BIOS/UEFI menu on startup. Look for a setting like Intel VT-x or AMD-V.
- Windows Edition Compatibility: Windows Sandbox is only available in Pro, Enterprise, or Education editions of Windows. If you’re using a Home edition, this feature is not available.
- Hardware Requirements: Ensure your system has at least 4 GB of RAM and 2 CPU cores for smooth performance. If your PC doesn’t meet these requirements, the feature may not work correctly.